
Portfolio with angular 11 & Bootstrap 4
1. Create the workspace:
$ng new meriemkarouneBootstrap4
2. Run the application:
$cd meriemkarouneBootstrap4
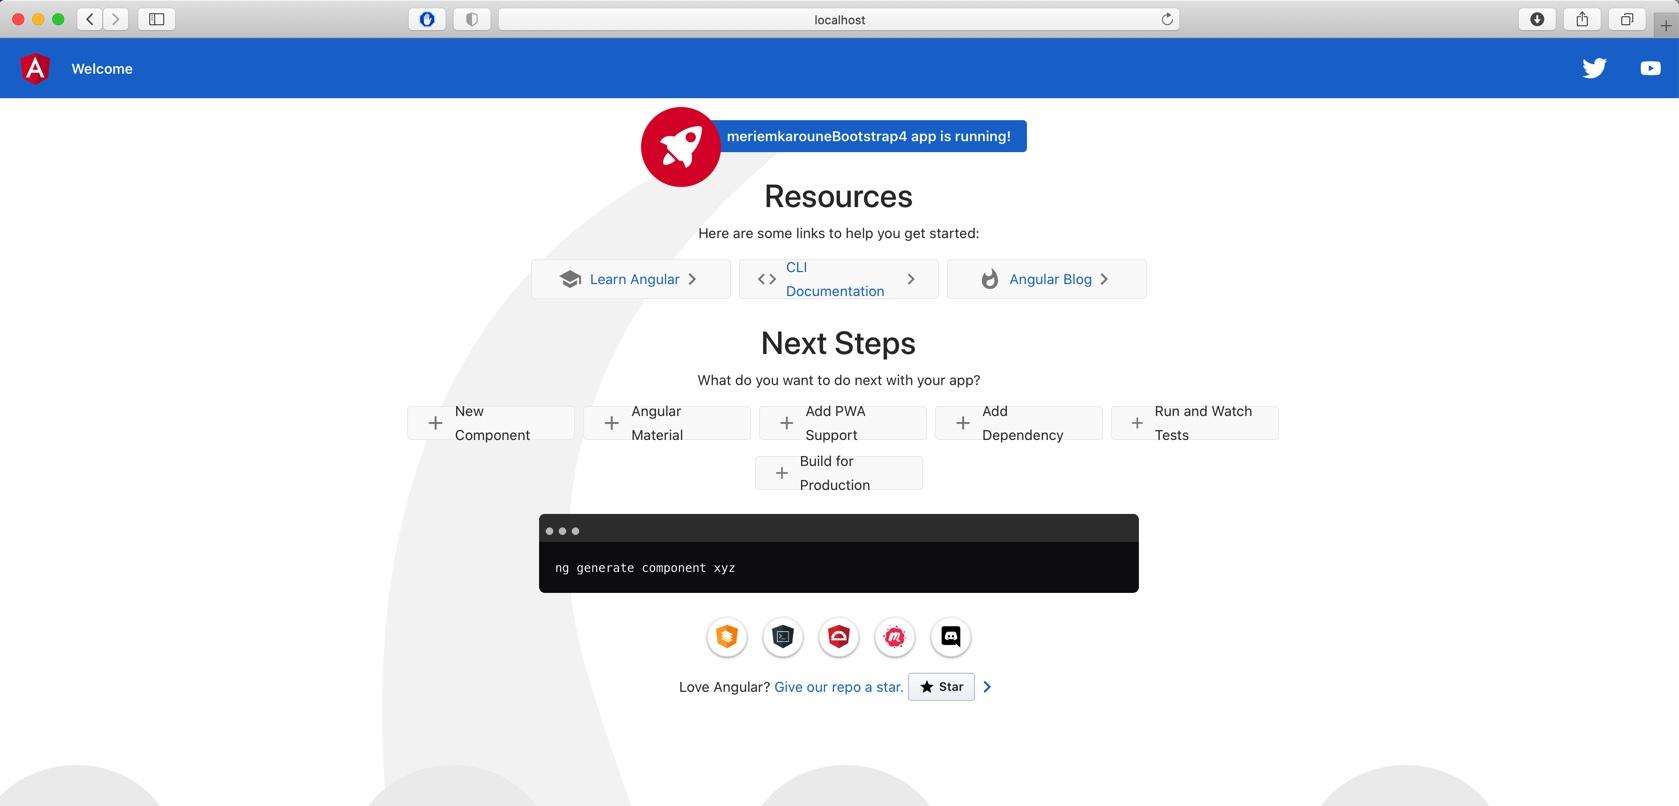
$ng serve --open
The following page will be displayed:
Add Boostrap to angular:
Install bootsrap on angular 11.
$npm install bootstrap --save
Import bootstrap on style.css:
src/style.css
@import "~bootstrap/dist/css/bootstrap.css";
- Modify the index.html file to have a blank web page. Then we will add the different component of the portoflio.
//index.html content.
//Output of the index.html page image
The next step is to create the components of the portofolio.
1. Curriculum component:
Run the following command to create the curriculum component
$ng generate component curriculum
1.a. Open the curriculum.component.html file and add the curriculum content.
//content
2.b Add the following line in the app.component.html file.
<app-curriculum></app-curriculum>
- Create gallery component
$ng generate component gallery
1.a. Open the curriculum.component.html file and add the curriculum content.
//content
2.b Add the following line in the app.component.html file.
<app-gallery></app-gallery>
- Create contact component
$ng generate component contact
1.a. Open the curriculum.component.html file and add the curriculum content.
//content
2.b Add the following line in the app.component.html file.
<app-contact></app-contact>
- Create footer component
$ng generate component footer
1.a. Open the footer.component.html file and add the footer content.
//content
2.b Add the following line in the app.component.html file.
- Create banner component
$ng generate component banner
1.a. Open the banner.component.html file and add the banner content.
//content
2.b Add the following line in the app.component.html file.
- Create navigation component
$ng generate component navigation
1.a. Open the navigation.component.html file and add the navigation content.
//content
2.b Add the following line in the app.component.html file.
NB:
The next step is to use routers to define how to navigate through the application. Modify the file app-routing.module.ts file and add the components paths.
const routes: Routes = [
{path : 'banner', component : BannerComponent},
{path : 'curriculum', component : CurriculumComponent},
{path : 'gallery', component : GalleryComponent},
{path : 'contact', component : ContactComponent},
{path : 'footer', component : FooterComponent},
{path : 'navigation', component : NavigationComponent},
{path : '', redirectTo :'/banner', pathMatch:'full' }
];
the app.module.ts file, the routes are already added in the imports array that redirects the user to display the components.
@NgModule({
imports: [RouterModule.forRoot(routes)],
exports: [RouterModule]
})
We notice now that we can display the components seoeratly using the links defined in the app-routing.module.ts file.
//Displays of some pages.
Then we modify the navigation.component.html by adding the routerLink and we indicate the corresponding path: as follow:
<ul class="nav navbar-nav navbar-right">
<li class="active"> <a routerLink="/banner" class="scroll">Home</a> </li>
<li> <a routerLink="/curriculum" class="scroll">Resume</a> </li>
<li> <a routerLink="/gallery" class="scroll">Works</a> </li>
<li> <a routerLink="/contact" class="scroll">Contact</a> </li>
</ul>
Add a comment